A good fake tan shouldn’t require cancelling your plans, sleeping in sticky sheets or spending the next week trying to stop it from going patchy.
With the right prep, application and aftercare, your tan can stay looking natural, even and fresh for 7–10 days without your entire routine revolving around it.
And most of the work actually happens before you start tanning.
1. Good tan prep starts the day before
If you want an even tan and an even fade, what you apply it to matters.
Exfoliate 24 hours before tanning.
Use an exfoliating mitt to remove dead skin cells and any remaining old tan, paying extra attention to areas where tan tends to cling like your elbows, knees and ankles.
If you still have stubborn old tan hanging around, use a Tan Remover + Primer before exfoliating to help loosen it rather than scrubbing your skin within an inch of its life.
Time your hair removal properly.
If you shave, aim to do it around 24 hours before tanning. If you wax, give your skin at least 48 hours before applying tan.
This gives your skin time to settle and helps prevent tan grabbing around freshly shaved or waxed areas.
And if you don't remove your body hair? Skip it. You absolutely don't need to shave just because you're tanning.
2. Make tanning the last thing on your beauty list
Hair washed? Brows done? Waxing sorted? Skincare finished?
Then we tan.
Try to get your other beauty appointments and everything-shower jobs out of the way beforehand. Exfoliating, shaving, waxing and soaking in the shower after tanning can all shorten the life of your tan.
Before application, your skin should be clean, dry and free from deodorant, perfume, makeup and body products.
If your elbows, knees, ankles, hands or feet tend to be dry, apply a tiny amount of moisturiser to those areas around 10–15 minutes before tanning.
3. Choose a tan that actually works with your skin
Application matters, but so does what you're applying.
Your undertone doesn't disappear just because you're fake tanning, which is why choosing a base that works with your skin can make such a difference to the final colour. Find your undertone match for free here
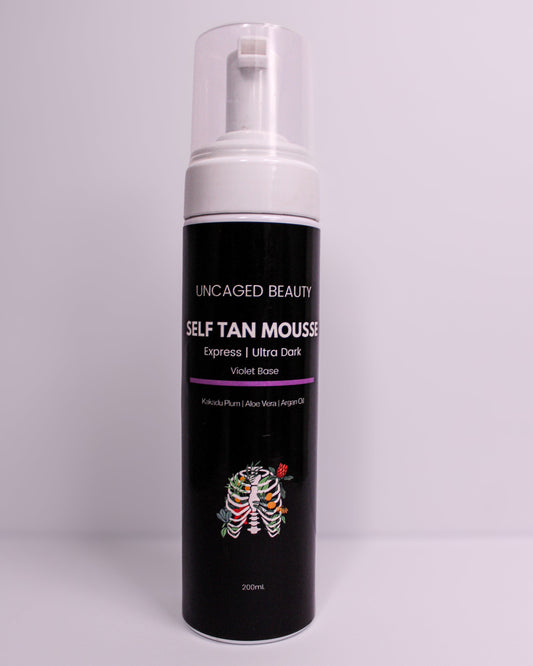
If you have yellow or golden undertones, our Violet Base Self Tan Mousse helps neutralise that warmth for a richer brown result.
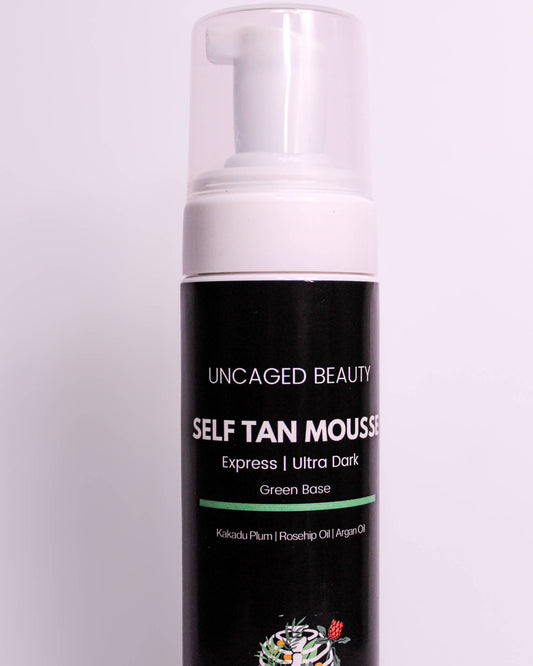
If you have pink or red undertones, our Green Base Self Tan Mousse helps neutralise redness for a more natural brown.
The goal isn't just to get darker; it's to get a tan that actually complements your skin.
4. Don't rush the application
You don't need an hour-long tanning routine, but giving yourself a few extra minutes to apply properly will save you a lot of fixing later.
Use a Velvet Tanning Mitt to apply your mousse in sections, working your way up the body and blending as you go.
When you reach your hands, wrists, elbows, knees, ankles and feet, use less product and spend a little more time blending. A Tan Perfecting Brush makes blending these areas much easier to control and results in a seemless tan.
For your hands and knuckles, bend your fingers while blending so the product reaches the creases without building up around them. Give your nails and palms a quick wipe afterwards.
Your hands shouldn't be announcing your fake tan before the rest of you does.
5. Remember: rinsing isn't the finish line
Using a rapid tan doesn't mean your colour has finished developing when you rinse it off.
Your first rinse removes the colour guide, while your actual tan continues developing underneath for the next 24–48 hours.
So if you have somewhere important to be, don't leave tanning until the day of.
We recommend tanning around two days before an event so your colour has time to fully develop and settle into its final shade.
6. The first 24 hours matter
Once you've rinsed, give your tan a little time before throwing everything at it.
For the first 24 hours, try to avoid long hot showers, baths, swimming and anything that's going to have you excessively sweating.
When you shower, keep the water comfortable rather than scorching and pat your skin dry instead of rubbing it with your towel.
You don't need to treat your skin like it's made of glass, we're just trying to avoid unnecessarily speeding up exfoliation.
7. Moisturise. Every. Day.
If there's one aftercare habit worth keeping, it's this one.
Fake tan sits in the upper layers of your skin, so as those skin cells naturally shed, your tan fades with them. Keeping your skin hydrated helps support a smoother, more even-looking fade.
Once you're 24 hours post-tan, moisturise at least once a day.
This is also where a gradual tanner earns its spot in your bathroom.
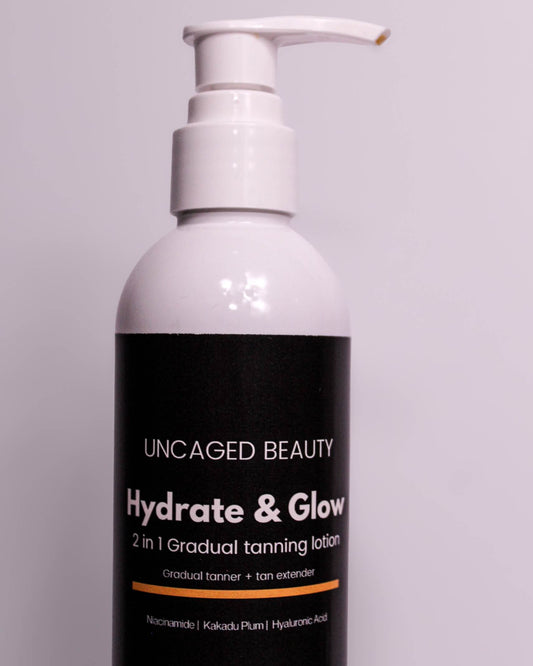
Our Hydrate & Glow Gradual Tanner adds hydration while slowly topping up your colour, making it an easy way to extend your tan when it starts losing intensity. Use this every 3-4 days to enhance the colour of your tan while also increasing longevity
8. Check what's in your everyday products
If you're doing everything right and your tan still seems to disappear faster than it should, it might be time to look at the products you're using every day.
Your body wash, moisturiser, skincare and even your shampoo and conditioner can all come into contact with your tan and potentially affect how evenly it wears and fades.
When you're choosing your everyday products, have a look at the ingredient list and be mindful of products containing ingredients like SLS/SLES, mineral oil, petrolatum, paraffinum liquidum and high amounts of alcohol or fragrance, particularly if you've noticed your tan fading quickly or unevenly.
You don't need to throw out your entire bathroom cabinet overnight. As products run out, start swapping them for gentler, more hydrating alternatives that support your skin barrier and work better alongside your tan.
And don't forget your haircare. Shampoo and conditioner rinse directly over your shoulders, back and chest, so what you're using on your hair can end up affecting your tan too.
A few small product swaps can make a surprisingly big difference to how your tan wears throughout the week.
If you would like some recommendations, feel free to message us on Isntagram (@uncagedbeauty)
9. Top up strategically
Your face, hands and feet usually fade faster than the rest of your body because they're washed more frequently.
Instead of reapplying mousse to your entire body every time one area fades, just top up where you need it.
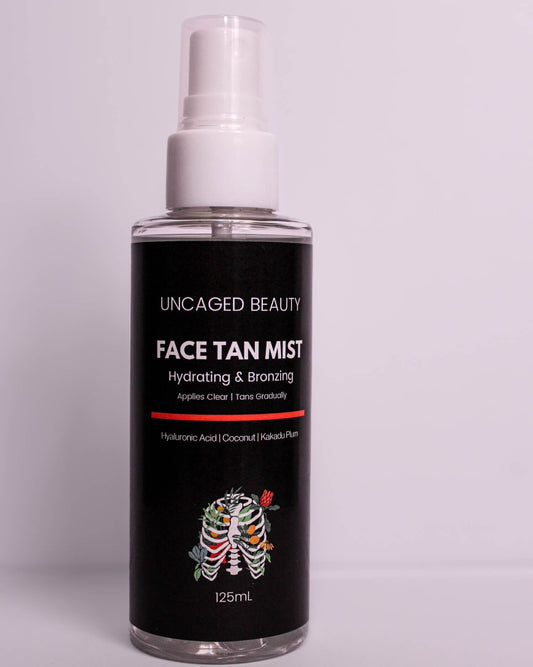
A Hydrating Tanning Mist is an easy option for your face, hands and feet when they need a little extra colour without making them noticeably darker than the rest of your body.
For everywhere else, add a coat of gradual tan when your colour starts to soften.
When it's time to remove it, remove it
There comes a point where adding more tan isn't going to save what's underneath.
If your tan has reached the end of its life, let it go.
Around day 7 onwards, use a Tan Remover + Primer followed by an exfoliating mitt to gently remove what's left and give yourself a fresh, even base for your next application.
Because layering fresh tan over patchy old tan is rarely going to give you the result you're hoping for.
The secret to a longer-lasting tan isn't more tan
It's better prep, a formula that works with your skin and a few simple aftercare habits.
You don't need a complicated routine or a bathroom full of products. You just need to know what actually makes a difference.
Prep properly, apply carefully, keep your skin hydrated, top up when you need to.
Then get on with your week while your tan does its thing.